
Fixing a Home Assistant Motion Light Automation That Kept Shutting Itself Off
Or: why your for: timer is doing more work than you think.
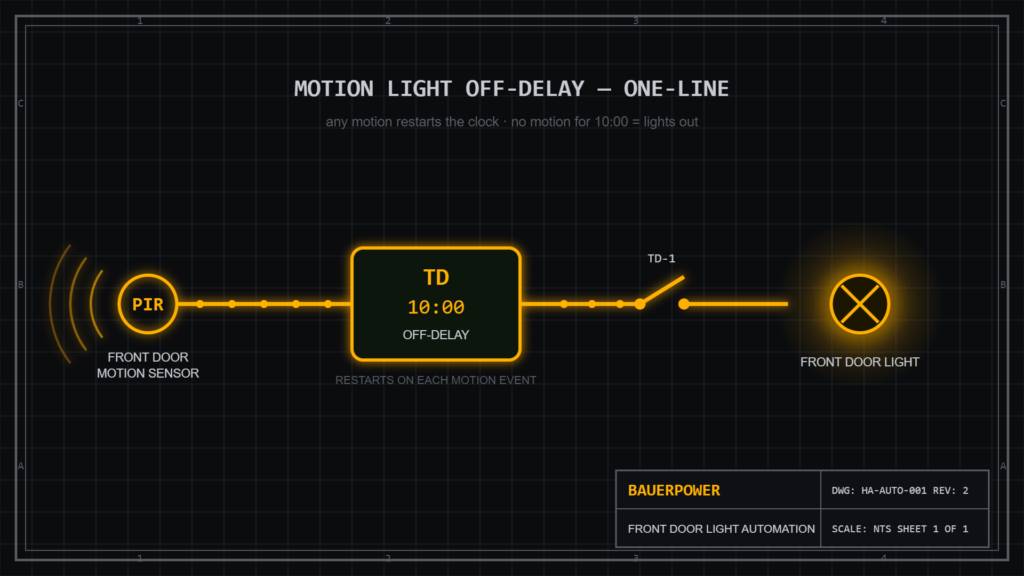
I wanted a simple behavior for my front door light: any time it’s been on for 10 minutes with no motion from the outside sensor, shut it off. Every new motion event should restart that 10-minute clock. Classic motion-activated porch light logic.
What I got instead was a light that turned itself off almost instantly, every time. Here’s the automation I started with, what was actually wrong with it, and the version that works — plus the one Home Assistant concept that makes the whole thing click.
The Broken Version
alias: Front Door Light Off After No Motion
description: ""
triggers:
  - trigger: light.turned_on
    target:
      device_id: 74647d2762941e1cfcfec41cdeadb620
    options:
      behavior: all
      for:
        hours: 0
        minutes: 0
        seconds: 0
  - trigger: motion.cleared
    target:
      entity_id: binary_sensor.front_door_sensor_motion_detection
    options:
      behavior: each
      for:
        hours: 0
        minutes: 10
        seconds: 0
conditions: []
actions:
  - type: turn_off
    device_id: 74647d2762941e1cfcfec41cdeadb620
    entity_id: light.front_door_light
    domain: light
mode: single
Looks reasonable at a glance. It is not.
Bug #1: The Zero-Second Kill Switch
Look at the first trigger. It fires when the light turns on, with a for: of zero seconds. The conditions block is empty. So the sequence is: light turns on, trigger fires immediately, no conditions to stop it, action runs, light turns off.
Light on, light off, in about the time it takes the Z-Wave command to make the round trip. The automation was doing exactly what I told it to do — which is the whole problem with automations. They don’t do what you meant.
Bug #2: No Motion Check At All
Even if that first trigger had a proper 10-minute delay on it, there was a second problem: nothing anywhere checks whether motion is actually clear. The light-on trigger would have killed the light after 10 minutes even with someone standing on the porch tripping the sensor the whole time. Ten minutes into a conversation at the front door: lights out.
The Fix
Here’s the corrected version, using plain state triggers instead of device triggers:
alias: Front Door Light Off After No Motion
description: ""
triggers:
  - trigger: state
    entity_id: binary_sensor.front_door_sensor_motion_detection
    to: "off"
    for: "00:10:00"
  - trigger: state
    entity_id: light.front_door_light
    to: "on"
    for: "00:10:00"
conditions:
  - condition: state
    entity_id: binary_sensor.front_door_sensor_motion_detection
    state: "off"
    for: "00:10:00"
actions:
  - action: light.turn_off
    target:
      entity_id: light.front_door_light
mode: single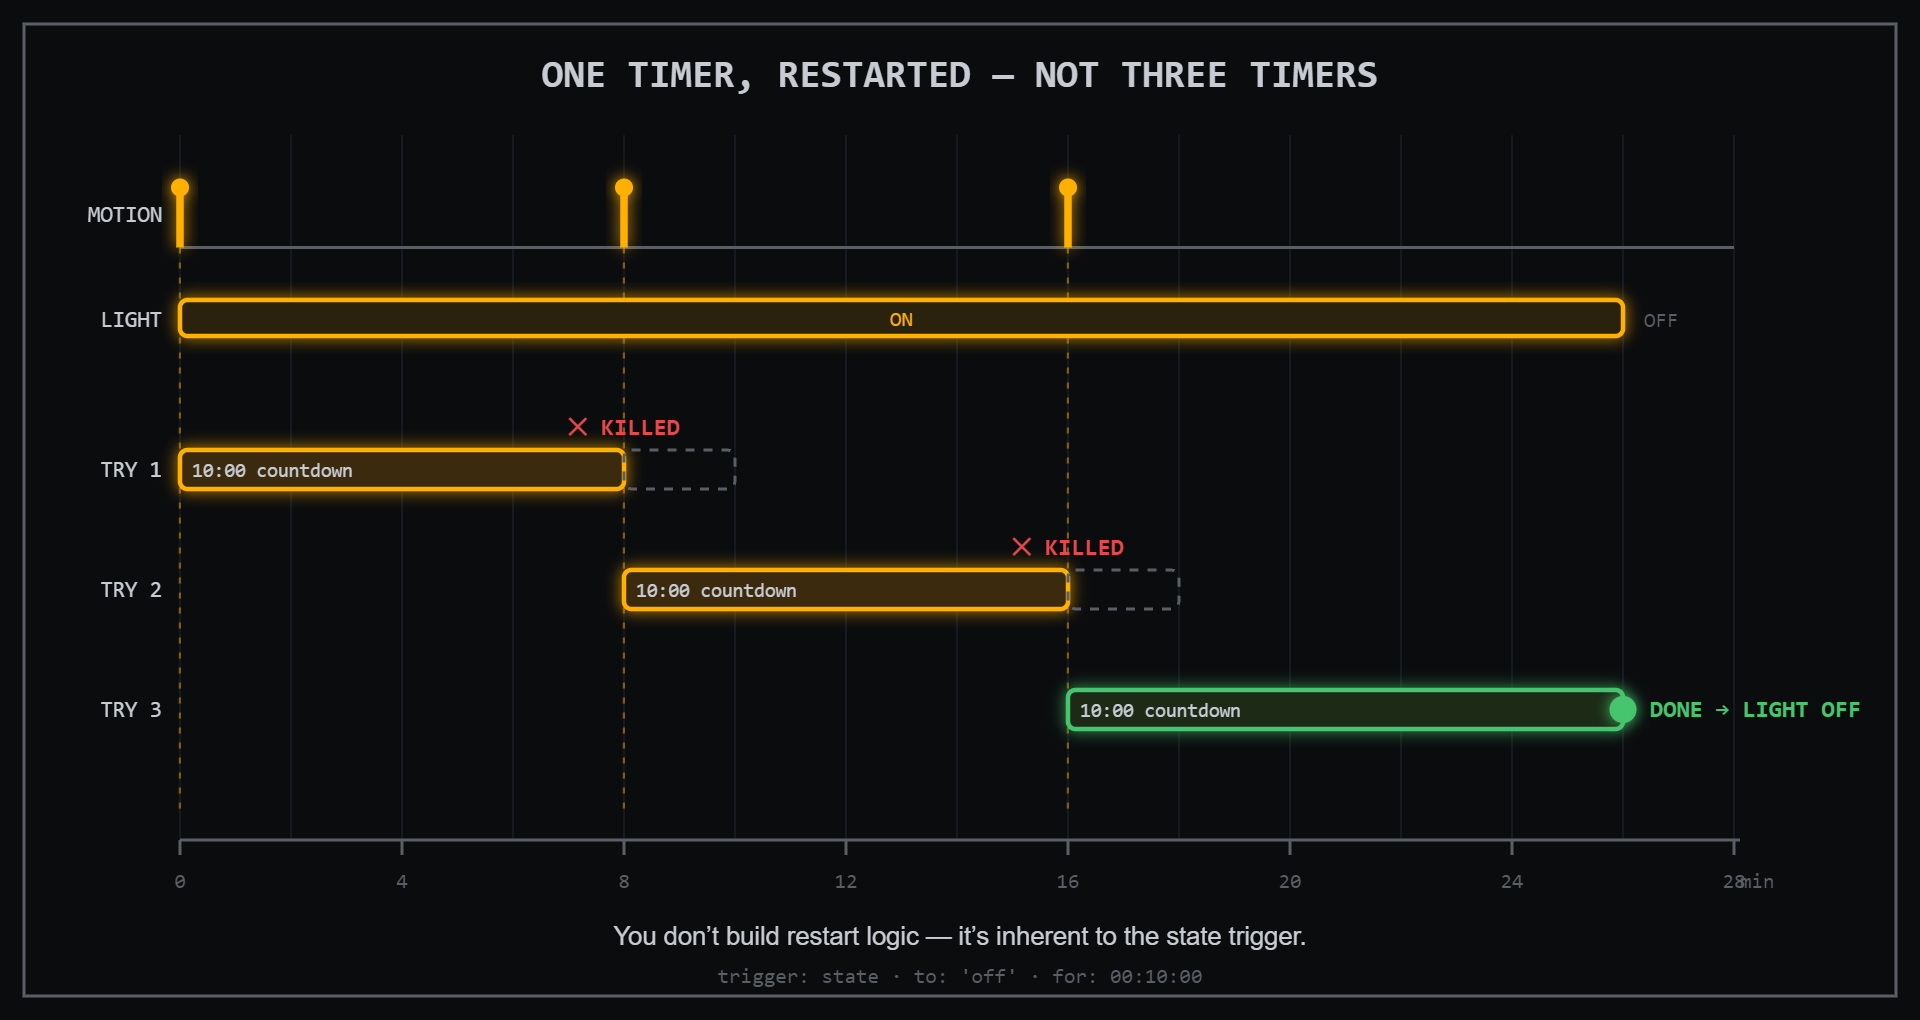
Why This Works: for: Restarts Itself
The key insight — and the reason my original attempt was over-engineered and broken at the same time — is how a state trigger’s for: timer behaves.
The timer automatically resets whenever the state changes.
Trigger 1 says: fire when the motion sensor has been off for 10 continuous minutes. Every time motion is detected, the sensor flips to on, and that 10-minute countdown gets thrown away. When the sensor clears again, a fresh countdown starts. That “restart the timer on every motion event” logic I was trying to build by hand? It’s inherent to how for: works. You don’t build it. You just use it.
Trigger 2 covers an edge case that’s easy to miss: the light gets turned on but the motion sensor never trips at all. Someone flips it from the wall switch inside, or from the app. Without this trigger, trigger 1 never fires — because the sensor never transitions — and the light stays on forever. Trigger 2 says: if the light has simply been on for 10 minutes, that’s also grounds to check.
And the condition is the safety net for both paths: no matter which trigger fired, the light only actually turns off if the sensor has genuinely been clear for 10 minutes. Someone standing on the porch keeps the light on indefinitely. As it should.
A Note on Device Triggers vs. State Triggers
My original used device triggers with a hardcoded device_id. The fixed version uses entity-based state triggers. State triggers are worth preferring for a few reasons:
- They survive hardware swaps. Replace the light switch and re-use the entity ID, and the automation keeps working. A device ID dies with the device.
- They’re readable.
binary_sensor.front_door_sensor_motion_detectiontells you what it is.74647d2762941e1cfcfec41cdeadb620tells you nothing. - They’re portable. Copy the YAML to another install, fix the entity names, done.
Testing It
Don’t wait 10 minutes per test cycle. Temporarily drop the for: values to "00:00:30", walk out, wave at the sensor, come back in, and watch the History timeline with the light and motion sensor entities stacked on top of each other. You should see the motion “Detected” blip, then the light dropping exactly 30 seconds after the last clear.
One thing you’ll notice on a typical Z-Wave PIR: the detected pulses are short — the sensor flips back to clear within seconds. That’s normal, and it’s actually ideal for this automation, since every pulse restarts the clock anyway.
Once it behaves, set the timers back to 10 minutes and forget it exists. Which is the entire point of a good automation.
Fixing a Home Assistant Motion Light Automation That Kept Shutting Itself Off Read More »